
How To Hang A Tapestry With A Tapestry Rod
Here is a step by step guide to how to hang a wall tapestry with a tapestry rod with tips for best results. The easiest way is to use adjustable length tapestry rod sets, which will include the finials and mounting brackets hardware. The tapestry will hang 1-2 inches away from the wall, with the brackets behind the tapestry, so that they are not visible. Tassels will add a stylish finish to the look.
The instructions may vary depending on the type or brand of rod you have. The instructions below will help you understand how to hang the tapestry.
Total time: 1 hour
Supplies
- Tapestry
- Tapestry Rod
- Tassels
Tools
- Tape Measurer
- Pencil
- Screwdriver
- Drill
- Safety goggles
- Hearing protection
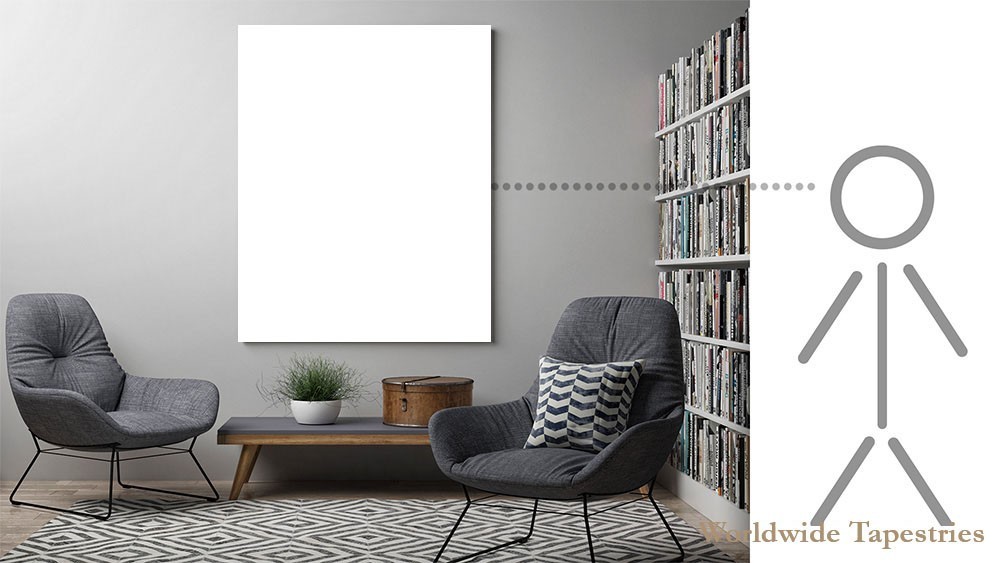
1. Position of the tapestry on the wall
Sub Steps
Stand back to see the tapestry on the wall: you will need a helper to hold it in place, while you have a look. As a general guideline, have the centre of the tapestry at eye level for a pleasing position, in location where there is no furniture in the way.
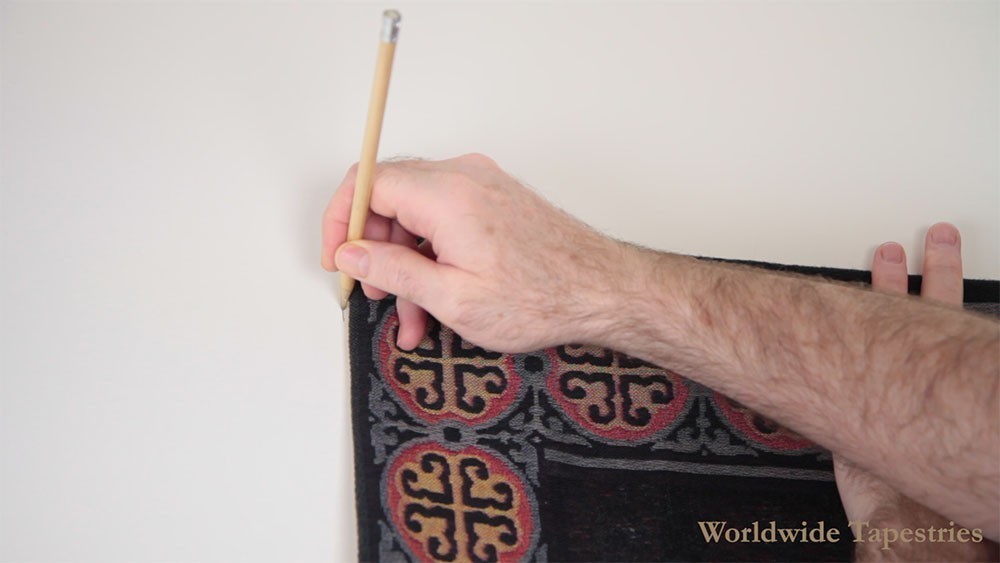
2. Mark the position of the tapestry on the wall
Sub Steps
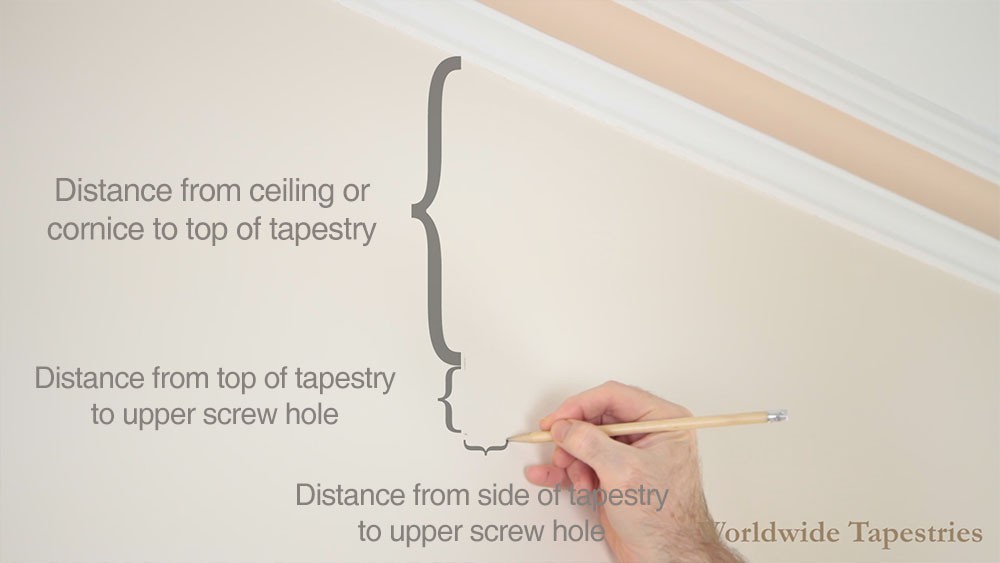
While the tapestry is against the wall, mark with a pencil on the wall, the top of tapestry near the middle and the top left and top right corners or sides.
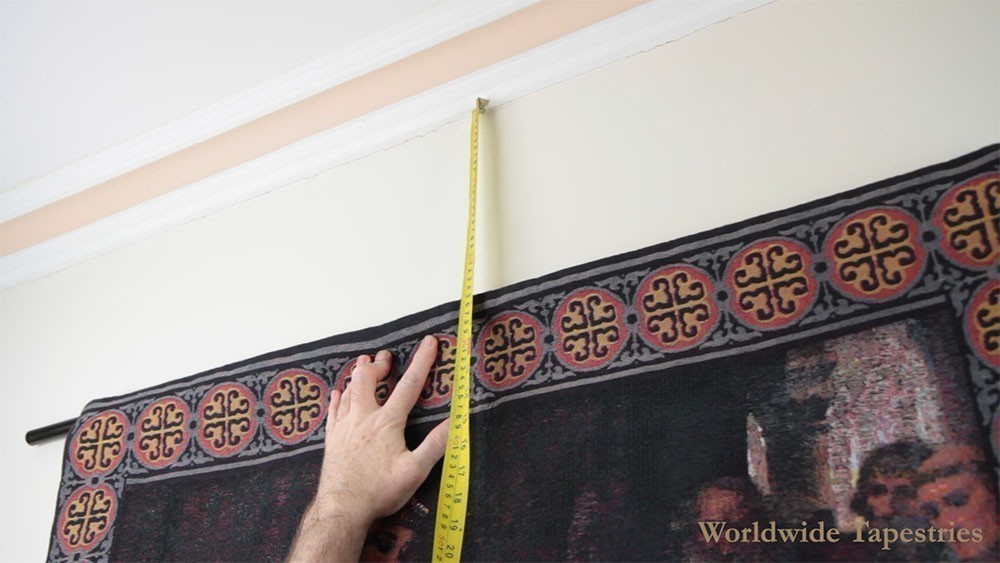
3. Measure the distance from the ceiling/cornice to the top of the tapestry
Sub Steps
Measure and record the distance from the cornice/ceiling to the top of the tapestry.
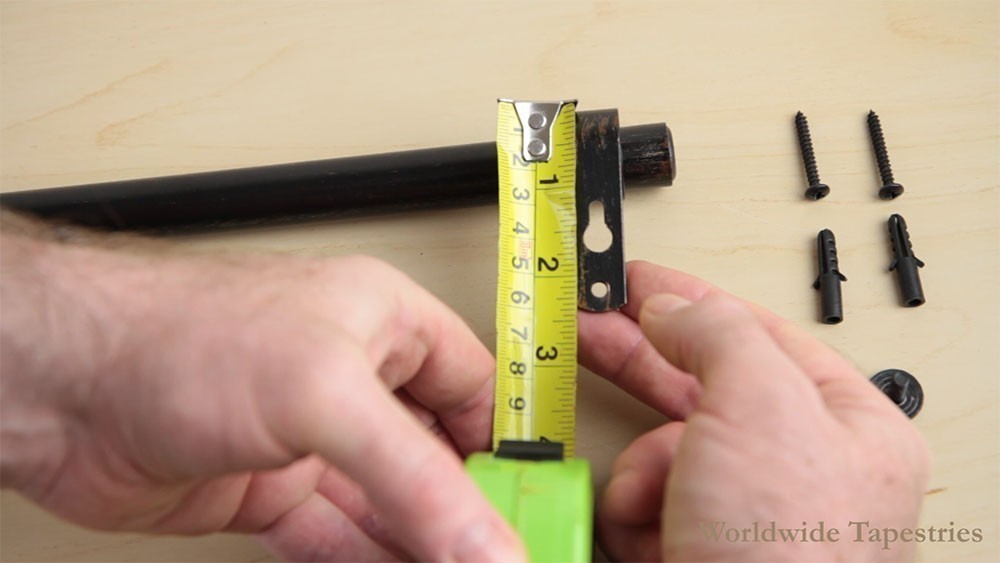
4. Measure the distance from the top and side of the tapestry, to the bracket's upper screw hole
Sub Steps
Position the rod on the bracket, and measure and record the distance from the top of the rod to the upper screw hole.
5. Mark the location of the bracket's upper screws holes on the wall
Sub Steps
Add the a) distance between the ceiling/cornice and top of tapestry and b) distance between top of tapestry and upper screw hole. Let’s call this “distance A”.
Now, along the same vertical line as the pencil mark you made before for the corner/side the tapestry, mark this vertical "distance A" from the ceiling/cornice, with a dot on the wall.
From this dot mark, make another mark that is the horizontal distance from the side of the tapestry to the upper screw hole. Mark this with a cross, and this is the spot where you will need to drill.
Repeat these steps for the other side.
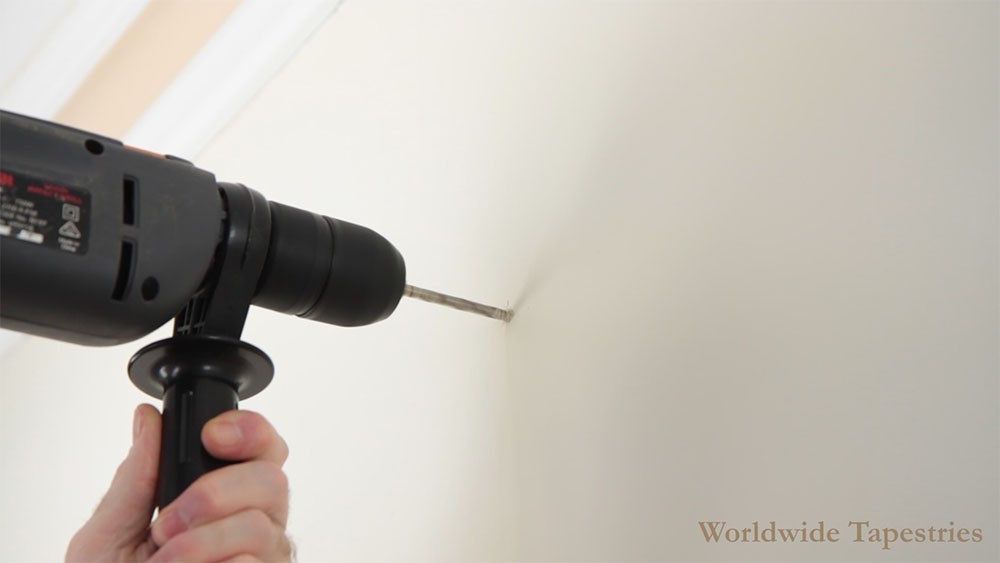
6. Drill the holes for the upper screw holes of the brackets
Sub Steps
Using appropriate safety glasses/goggles and ear protection, drill the holes (marked with a cross) for the upper screw holes on the wall.
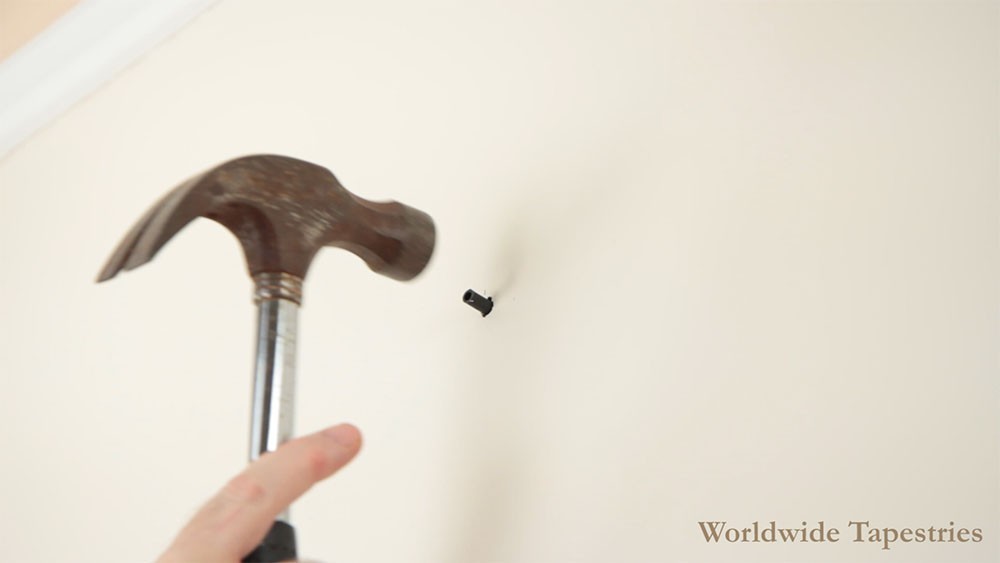
7. Install the wall plugs and screws (for upper screw holes of brackets), and mark the position of lower screw holes
Sub Steps
Place the plastic wall plug into the holes (for the upper screw holes of the brackets) and hammer them in. Screw in (but not all the way) the metal screws with a screwdriver.
When the screw is mostly in, place the bracket into position. With a pencil, mark the position of the lower screw holes of the brackets.
Repeat for the other side.
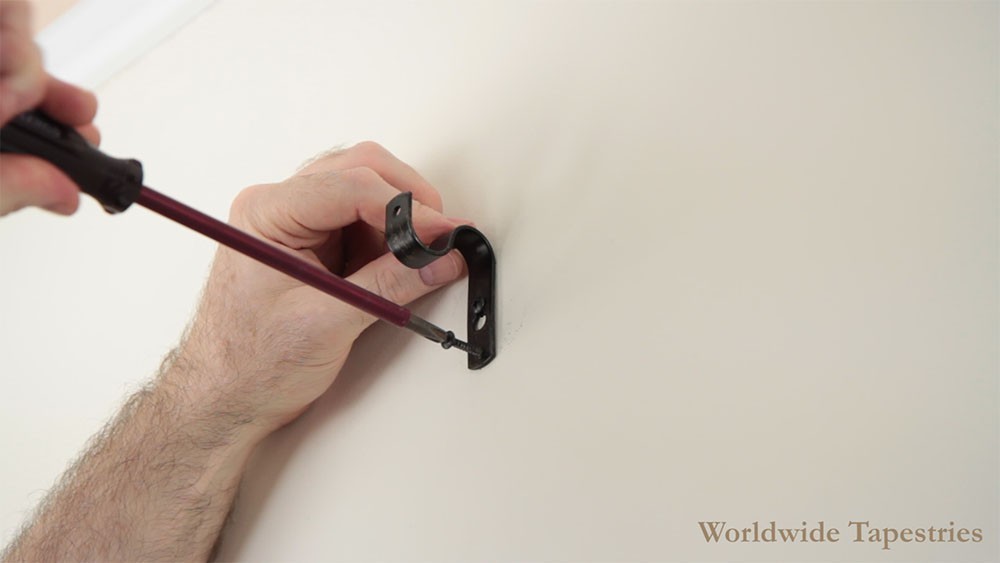
8. Install the wall plugs and screws for lower screw holes of brackets, and install the brackets
Sub Steps
Place the plastic wall plug into the holes (for the lower screw holes of the brackets) and hammer them in. Screw in (but not all the way) the metal screws with a screwdriver.
Place the brackets into position, and tighten the screws.
9. Assemble the rod in the tapestry rod pocket

Sub Steps
Assemble the adjustable rod through the rod pocket of the tapestry, screw on the finials (unless the finials are already fixed to the rod). With adjustable rods, the two rod parts where they meet in the middle, will be telescoped into each other.
10. Hang the tapestry and rod on the brackets
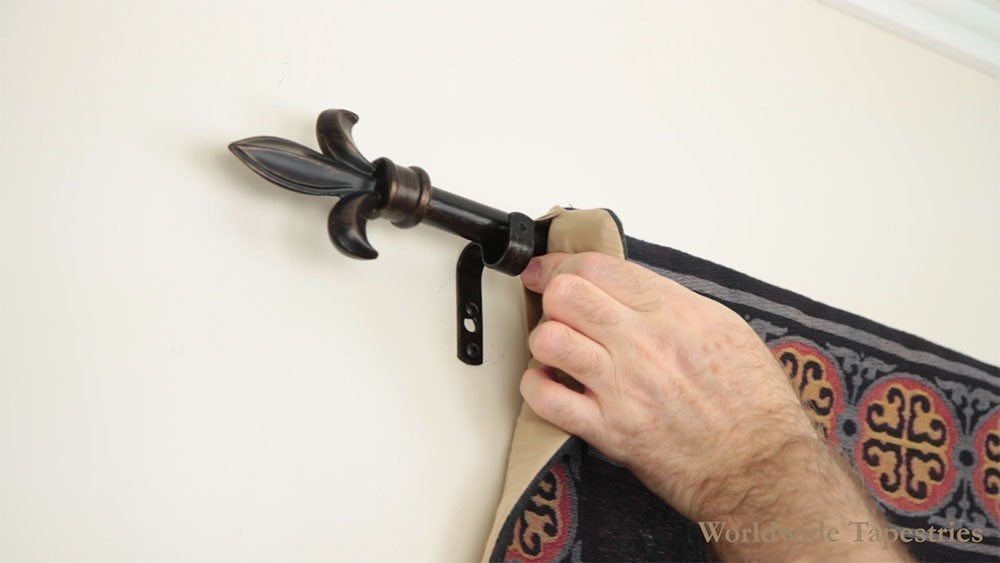
Sub Steps
Place the rod and tapestry on the brackets, and adjust to leave enough room for tassels (if using).
11. Hang the tassels
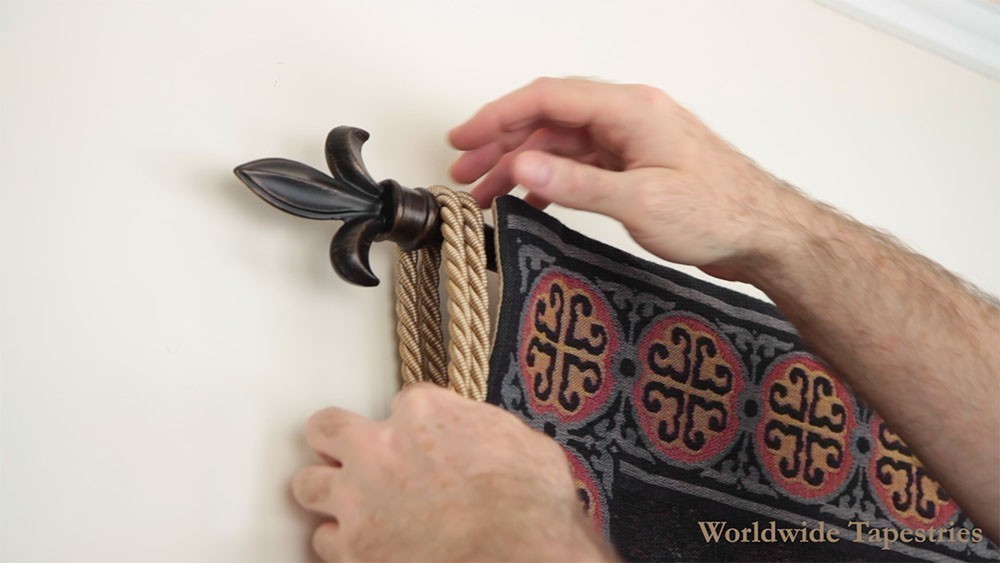
Sub Steps
Hang the tassels, if you are using them. Make adjustments to the rod length afterwards if needed.
12. Screw on the front stabilising screws

Sub Steps
Screw on the front stabilising screws to secure the rod position on the bracket from the front.

You can watch a video version at the top of this page.
How To Hang A Tapestry: Easy, Step-By-Step Guide For Best Results
Step-by-step video on how to hang a wall tapestry with a tapestry rod set, with tips for the best results.

The video was uploaded on 8/3/2019.
You can view the video here.
The video lasts for 5 minutes and 29 seconds.
 Free Shipping to US for Orders Over $200
 Superb Range of Tapestries
 Order 24/7
 Friendly Customer Service - See Our Testimonials!